POP SMILE TEETH WHITENING It's been about 3 years since I last bade my farewell to braces! Though I no longer have to fret about messy or unaligned teeth, the next thing that is always on my mind comes to taking good care of my oral health and how to whiten up my smile. Albeit my feat of sitting on the dental chair......, I still drag myself to go for regular dental scaling and polishing every 6 months (always a dreadful thing...).
Hence over the span of the last 3 years, I have also went for professional teeth whitening twice. One of which I have blogged before about my teeth whitening experience (
here). Well if you are lazy to read about my old granny's tale, basically I finally plucked up the courage to give teeth whitening a go about one-and-a-half year post braces. Reason why I had delayed it was so long? It was because I scared myself after googling extensively about it and some stories about how teeth-whitening gives you sensitive gums and what not. (I was young and naive, please forgive me).
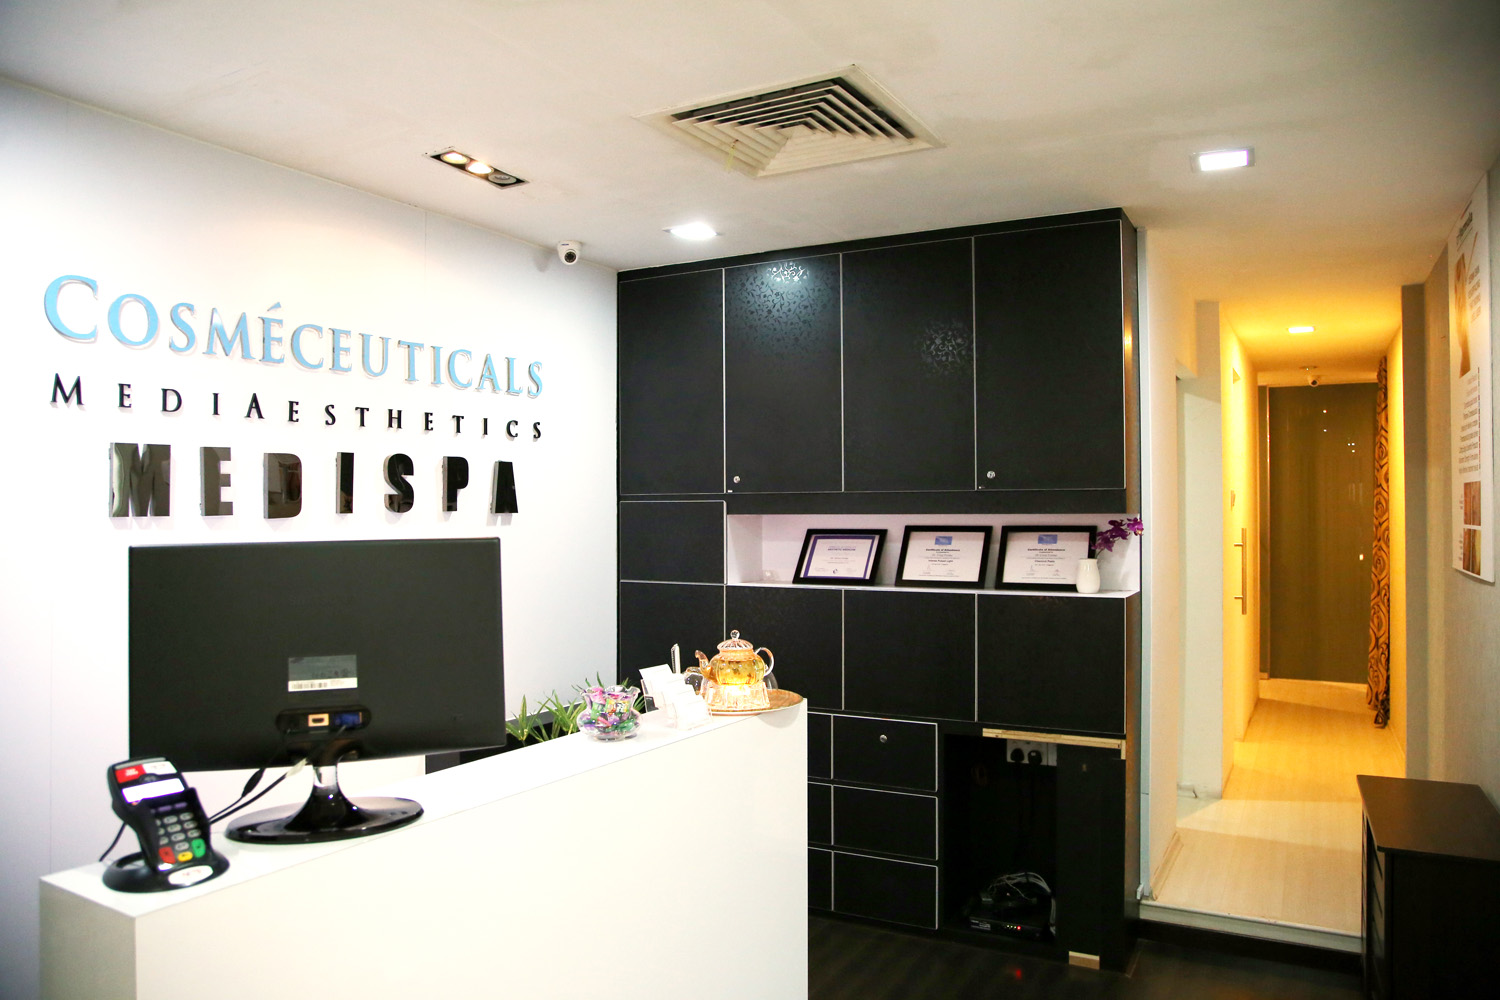
My first experience was a sponsored treatment by the aesthetic clinic back in April 2015 and well, it turned out to be a pretty pleasant experience! My teeth was at a whopping shade of 32!
Hello, look at me.
Someone who doesn't smoke nor drink, had neither any sip of coffee for her entire life had a shade of 32 for her teeth. (embarrassing fact,. I know.) The good thing was that my teeth took very well to the teeth whitening session - the result of my first professional LED teeth whitening treatment had my shade lightened by a good 16-shades. *flashes my smile
But just like all things of the universe, nothing is everlasting (sob). Due to dietary factors, personal oral hygiene and the biological structure of every individual's tooth enamel, the results of teeth whitening are bound to fade with time.
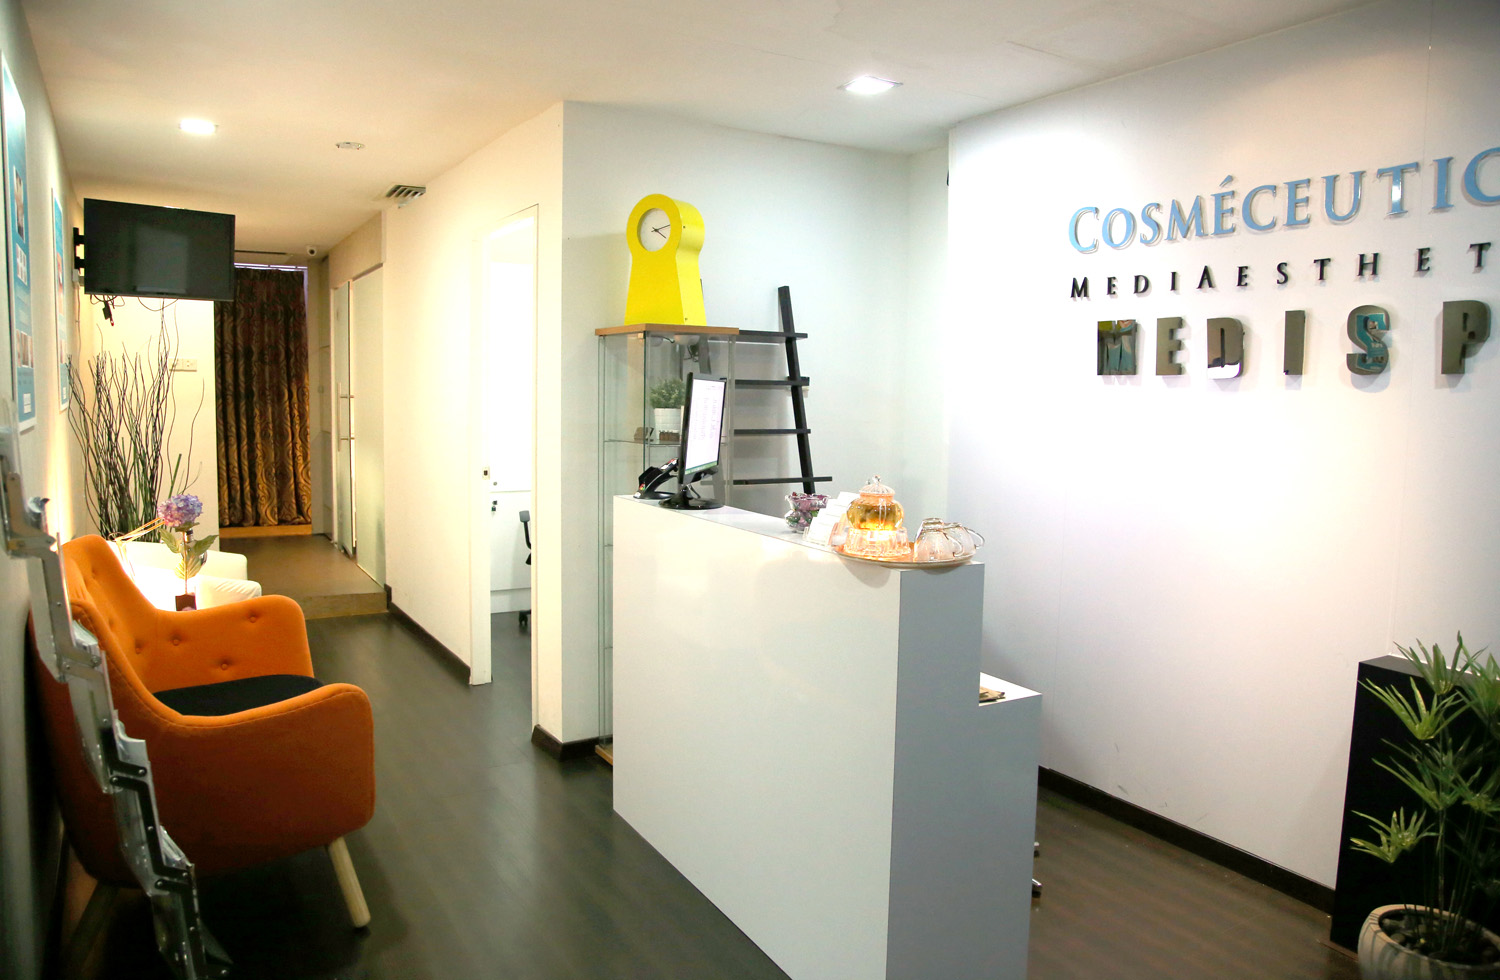
Therefore about one and a half years later in August 2016, I went back to the same aesthetic clinic to have my teeth whitened again. Though I'm not 100% sure that it was the same clinic (as they had their name changed), but every thing from the process of filling up the registration form to the dental teeth whitening process was the same.
I did the same teeth chart comparison and my teeth was at shade 24 then. Albeit a costly price tag, my teeth went up by about 10 shades on my second visit!
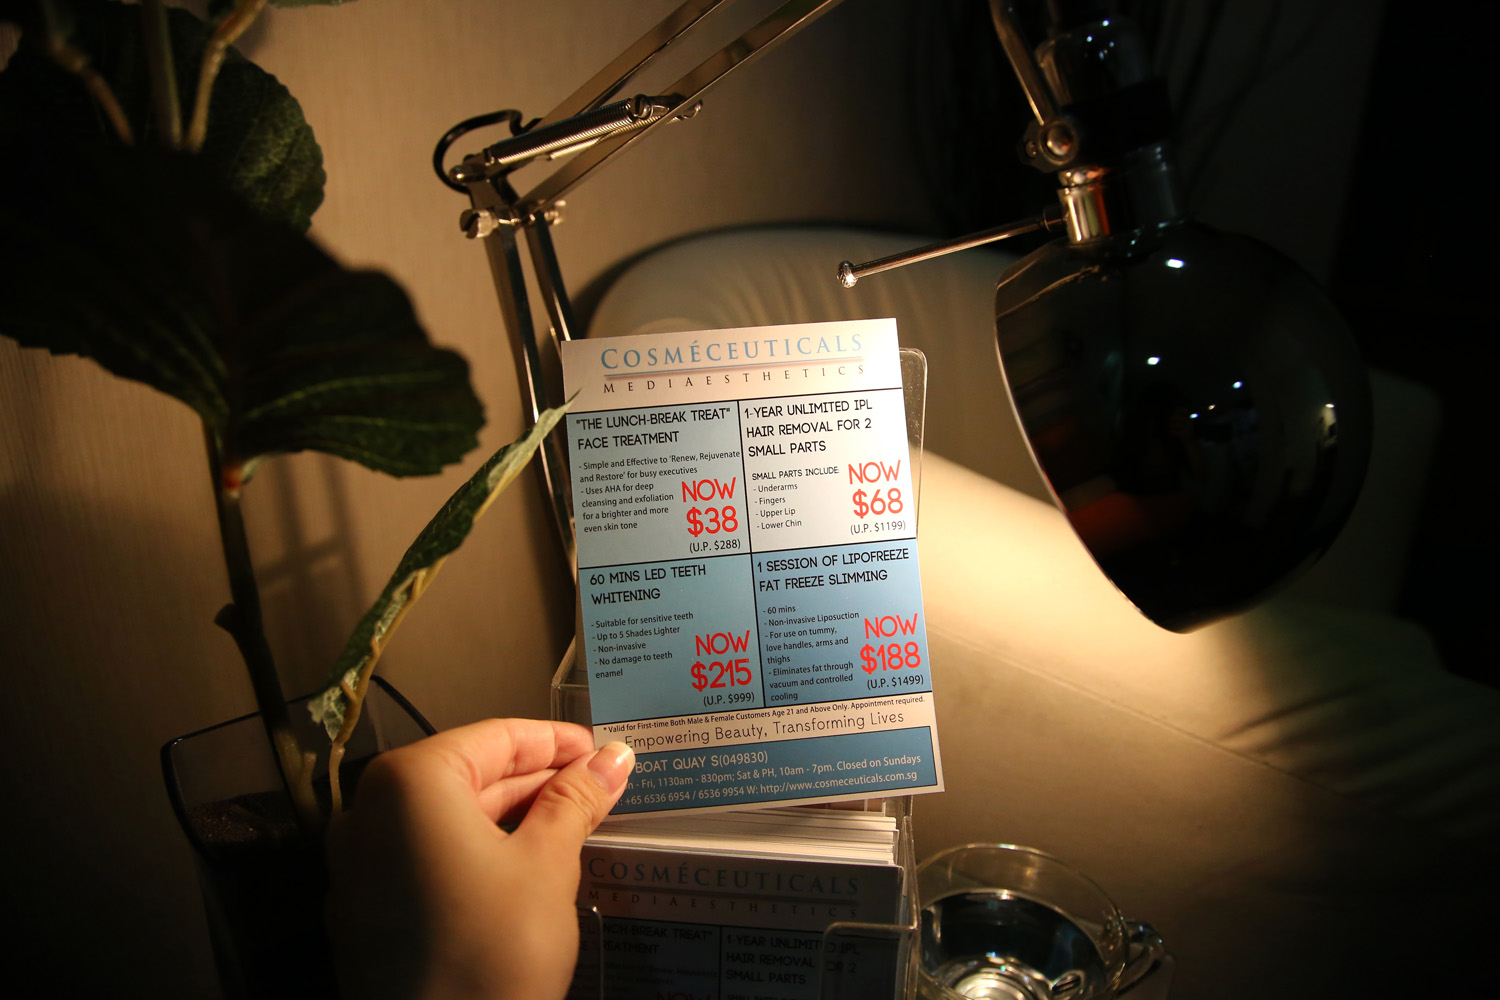
So on this second visit, I went as a paying customer and I had to say my visit was less than pleasant. Why? Reason because I was instantly quoted
double the amount when I sat down in the consultation room - as compared to what was conveyed to me over the phone when I called in to inquire.
That aside, the consultant lady showed me a series of photos and picture reviews to convince me to sign up a 10-sessions package (excuse me, it was an amount of over S$4,000 which we are talking about). I was already upset enough about the doubled treatment fee, and now you are up-selling me a few thousand dollars package.
Really, it was just a bad experience overall that I told myself I would rather keep a look out for home teeth whitening treatment kits in future instead.
So a few months passed until
Pop Smile approached me and asked if I would like to try their Home Teeth Whitening Kit (priced $99) and of course I had to say yesss. Few days later and this baby appeared on my doorstep.
With this kit lasting you for about 9 applications, it consists of:
1 x 6 Bulb Mini LED Device
2 x Whitening Trays
1 x Mouthguard Case
3 x Peroxide-free Whitening Gels
5 x Pre-Treatment Swabs
1 x Teeth Whitening Pen
User Instructions + Teeth Shade Goals
Pop Smile, unlike other teeth whitening brands out there, is 99% natural, peroxide-free. With patented pre-treatment and a little LED magic, this kit brightens teeth by up to 8 shades (clinically proven).
STEP 1: PREP WHITENING TRAYS
I made sure to read the user instructions about ten over times, so here's how I did! I prefer to prep my whitening trays ahead first. So basically there will be 2 whitening trays, where they are meant for you to bite on them and mold them to your teeth for a better fit (hence getting better results from the LED treatment). They are made of silicon, so its fairly easy to do it!
To form the whitening trays, boil water and pour with care into a flat container (in my case, I just poured hot water in a cup), allowing to cool slightly. Using the handle tabs on the whitening trays, I place the trays into the hot water for 5-7 seconds, allowing the silicon tray to soften up.
When it softens, that's your cue to remove it from the water! Remember to wait for a few seconds before placing it into your mouth because you wouldn't want to risk burning your gums. After which, I just bit onto the whitening trap and used my fingers to make sure that it fitted better around my bite. It softens and hardens pretty fast, so don't worry if you didn't get the hang of it! Because you can always dip it back into hot water and re-mold it accordingly.
![]()
STEP 2: PRE-TREATMENT SWABS
Included in the kit is also 5 of these pre-treatment swabs. To use, gently push the base of the swab towards the tip to dispense the pre-treatment gel. Using circular motions, lightly scrub the gel onto teeth to be whitened for 3-5 seconds. Don't rinse.
With just 5 of these swabs for 9 applications, I just used half of these swabs to make sure it would last me for 9 applications. Therefore it was just a really light coat on my teeth, with a little minty taste to it like how toothpaste does.
STEP 3: FILL TRAY WITH WHITENING GEL
With the trays prepared prior-hand, it's now time to fill them with the whitening gel! The whitening gel that comes with the
Popsmile Whitening Kit are made of 99% natural ingredients and are peroxide-free, so they are a safe option when it comes to DIY teeth whitening at home.
Replace the sealed cap for the whitening gel with the dispenser cap, and dispense 0.5ml of the peroxide-free whitening gel onto the whitening tray. Each syringe of the whitening gel will be able to last you for 3 applications.
After which, I just took a scissors and snipped off the handle of my whitening tray before placing it in my mouth. That will allow for you to place the LED light infront of your teeth for the next step!
STEP 5: WHITEN YOUR TEETH IN 10 MINUTES
Yay this is my favourite part! All that's remaining is to place the LED device in front of your teeth, and press the button on the device to activate the LED light. 10 minutes is all you need, where you just need to remove the LED device and trays thereafter, and rinse your mouth and trays with lukewarm water.
The result?
Here it is! I'm pretty sure it went up by at least 4 shades!! But do also note that results vary from individuals to another, so it may work even better for you.
(BONUS #1) TOUCH UP: TEETH WHITENING PEN
Apart from the whitening kit, there are 2 bonus items that comes included in
Pop Smile's Ultimate Kit. One of which is this teeth whitening pen! It is meant for occasions when you just had coffee or curry for lunch and you need give a dazzling smile for a hot date at night... (No I'm just kidding, you can use this anytime that you feel like you need a whitening boost on your teeth).
To use, twist one end of the pen to dispense the peroxide-free whitening gel (it will dispense onto the brush) and brush a thin layer on to teeth. All you need to do is wait for 60 seconds before rinsing your mouth with lukewarm water.
Perfect for anytime (because all you need is just 1 minute) for that quick touch up on your smile.
(BONUS #2) TRAVEL KIT: ANYWHERE ON THE GO
If you are always on the go, this travelling pouch that's included in
Pop Smile's Ultimate Kit is going to come in very handy. With the recommended application for the teeth whitening to be daily usage for 9 applications (that means 9 days), I find the pouch way more portable than the kit box itself.
The pouch looks small on its own but it was able to fit the entire content of the teeth whitening kit! That allows me to do my teeth whitening on to go, be it whether I'm at home or at the office. Personally I would prefer doing it at the office because all I need to do is dispense the gel onto my tray, and 10 minutes with the LED device in my mouth while I work on my laptop (because I will always be too worn out by the time I reached home hahaha).
FAQ and ANSWERS
Q: How long will 1 x Popsmile Whitening Kit last?
A: Each kit will lasts for 9 applications or 5 days. We recommend doing twice a day (morning & night) to have faster results.
Q: How much is the Popsmile Whitening Kit?
Q: What are the differences between the Starter Kit and Ultimate Kit?
A: The Ultimate Kit comes with the bonus Teeth Whitening Pen together with a Travel Kit.
Q: Where can I get the PopSmile kit? Is it only via the website? And if so, how long will the delivery takes? A: Popsmile kits are only available via Popsmile's
website, you can click
here to access directly to get yours. Delivery takes about a week.
Q: What if I already got the teeth whitening kit, and I would like to repeat the process after 3 months? Do I still have to purchase a full kit again? A: You can just get individual replacements for the swabs and syringes from the
website, so keep
your mouth trays for future use ;)
- I hope this answers most of your queries! If not, you can also leave a question on the comments below this post! -
Lastly, thank you Pop Smile for the chance to try out the Ultimate Teeth Whitening Kit!
#popsmile #behappysmilebright
-----------------------------------------------------------------------------------------
This is a sponsored advertorial courtesy of Pop Smile. While the products are sponsored, all views and opinions are my own.